General SAP documentation on MaxDB is here: https://maxdb.sap.com/documentation/
MaxDB is a relational database management system (RDBMS) sold by SAP for large environments (SAP and non-SAP) that require enterprise-level database functionality. The first step to delivering high availability for any application is ensuring it is installed according to best practices. This blog provides important insight for installing MaxDB in a SIOS LIfeKeeper for Linux high availability clustering environment. It includes links to detailed installation documentation provided by SAP.
These instructions assume that you will perform the MaxDB installation steps on all nodes in your SIOS LifeKeeper cluster that will be “production” nodes.
1. Downloading the MaxDB software
- Use your SAP account to download latest MaxDB package, in my case 51054410_2
- Upload the package to your Linux instance, in this case to /mnt/software/ and extract the file using SAPCAR with switches -xvf.
- cd into the “MaxDB_7.9___SP10_Build_05_” folder and then into “DATA_UNITS” and then finally “MAXDB_LINUX_X86_64”
- SAP document describing installation: https://maxdb.sap.com/doc/7_7/44/eb166db6f0108ee10000000a11466f/content.htm
2. Using the CLI Installer
Run SDBINST, the MaxDB installation manager which will begin the installation process.
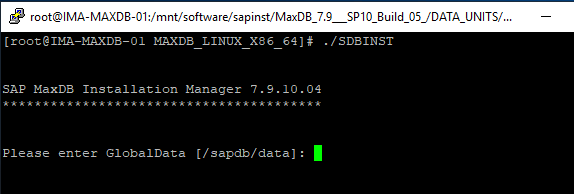
Walk through the options, either specify the values or accept the defaults:
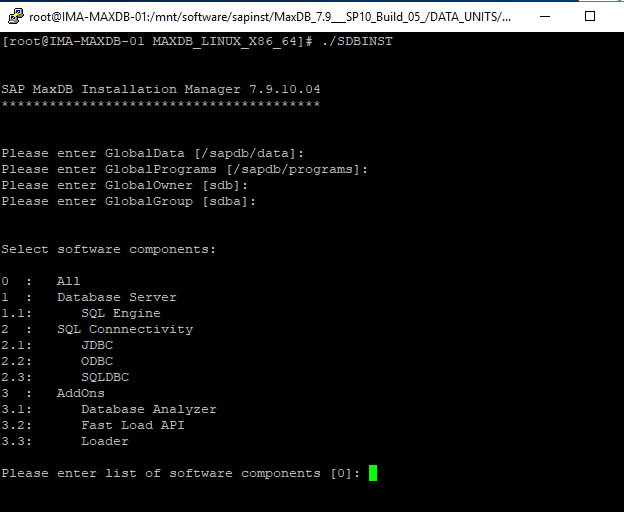
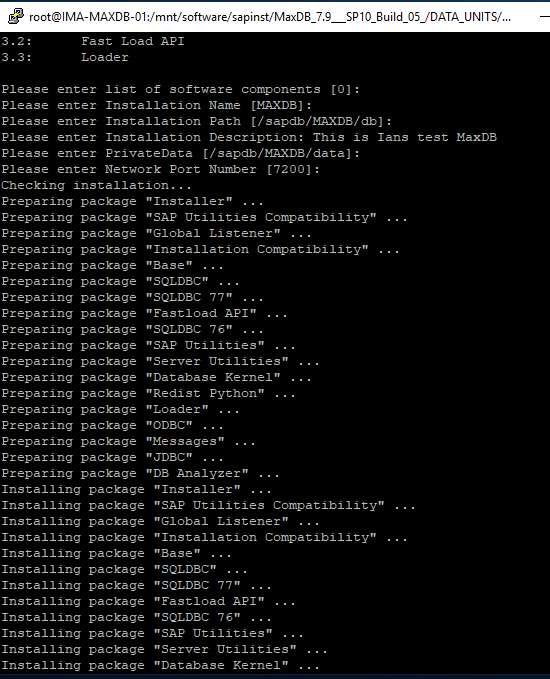
Select 0 for all components. You will then be prompted for the installation name. Installation path, installation description, privatedata and a port number.
This installations instance data location will be privatedata and the port number is the port that this instance will use while running, the default is 7200 for the first installation.
If you need to uninstall, follow the steps in this SAP document: https://maxdb.sap.com/doc/7_8/44/d8fc93daba5705e10000000a1553f6/content.htm
3. GUI Installer
To use the GUI installer, you will need to set up xauth and use xming (or similar X-Windows emulator), see https://superuser.com/questions/592185/how-do-i-get-x11-forwarding-to-work-on-windows-with-putty-and-xming
Note that the graphics libraries may need to be fixed. Fix some library links, Newer Linux versions have newer graphics libraries with different names. We can still use the newer libraries but MaxDB expects the older names and so we will create symbolic links to these existing libraries with the names that MaxDB expects to find:
ln /usr/lib64/libpangoxft-1.0.so.0 /usr/lib64/libpangox-1.0.so.0
ln /usr/lib64/libpng12.so.0 /usr/lib64/libpng.so.3
ln /usr/lib64/libtiff.so.5 /usr/lib64/libtiff.so.3
Now run setup:
cd /mnt/software/MaxDB_7.9___SP10_Build_05_/DATA_UNITS/MAXDB_LINUX_X86_64/
.//SDBSETUP
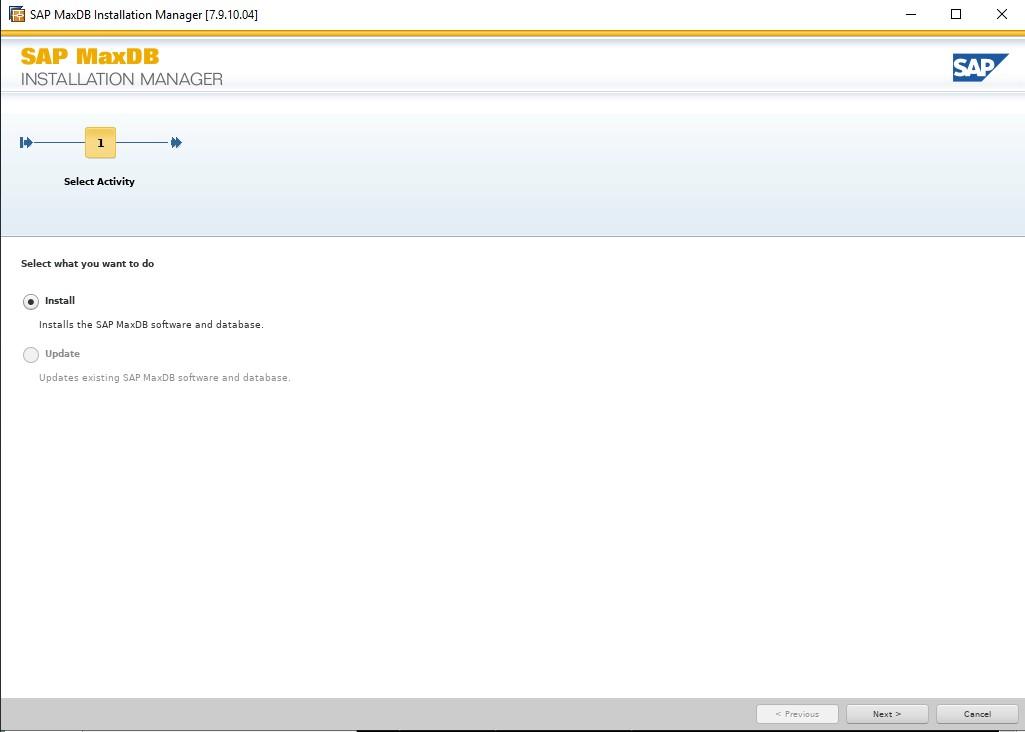
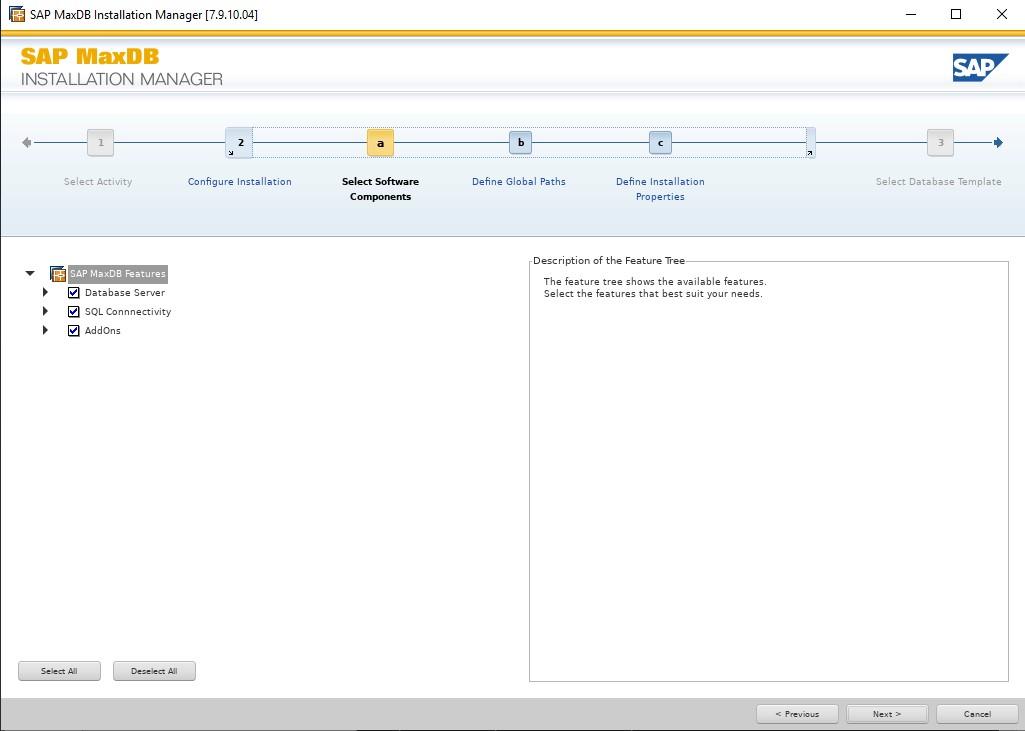
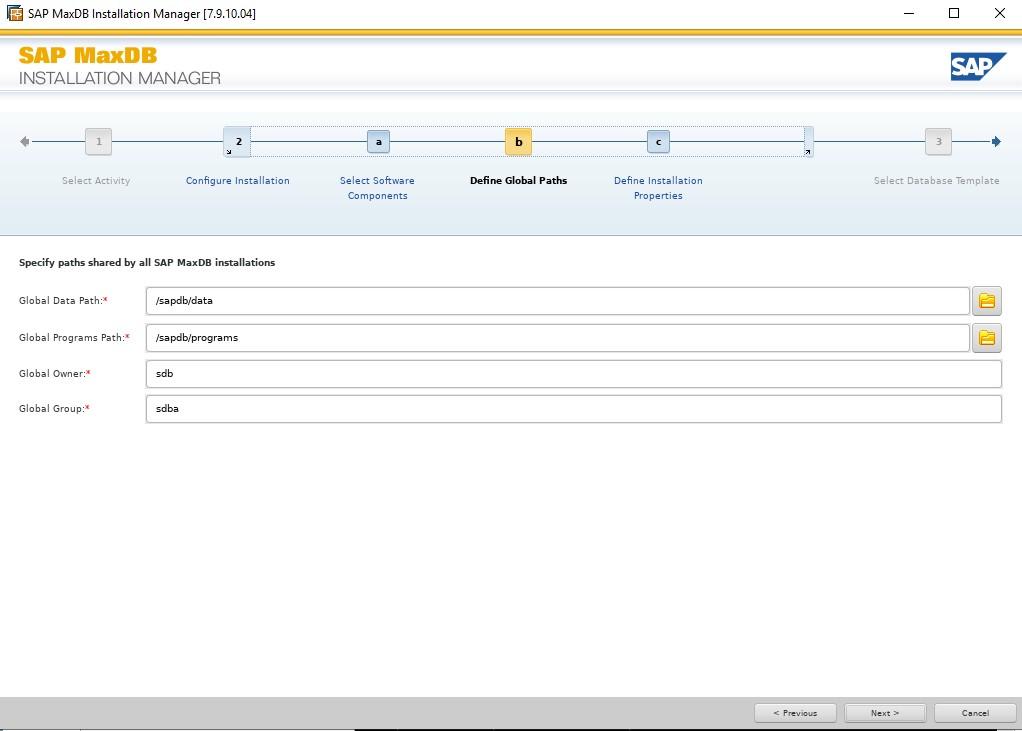
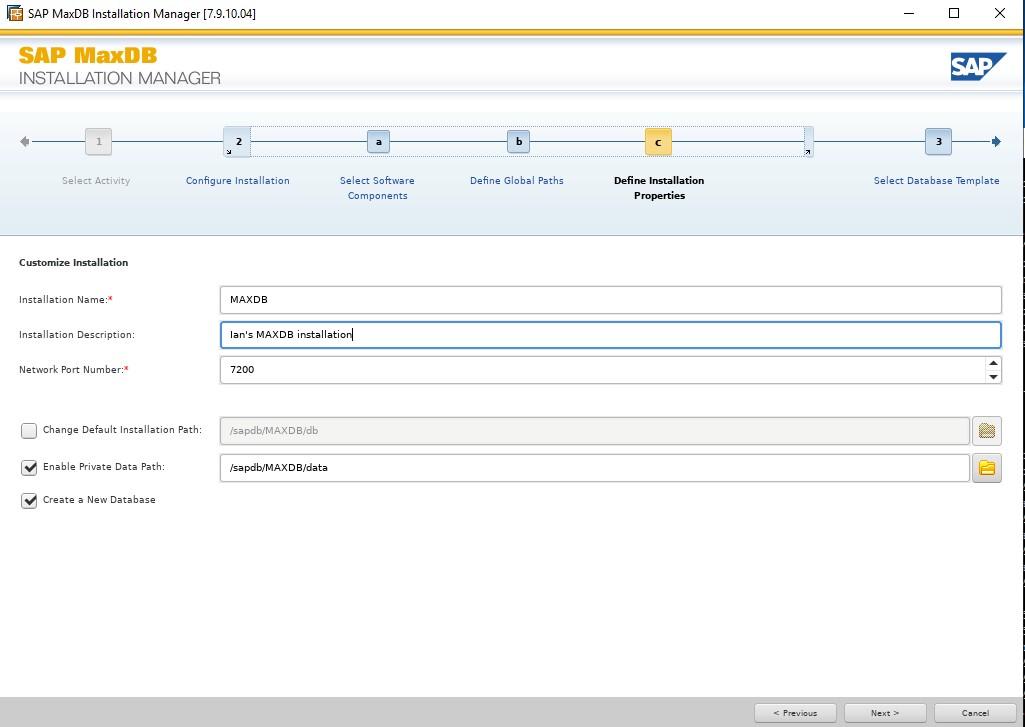
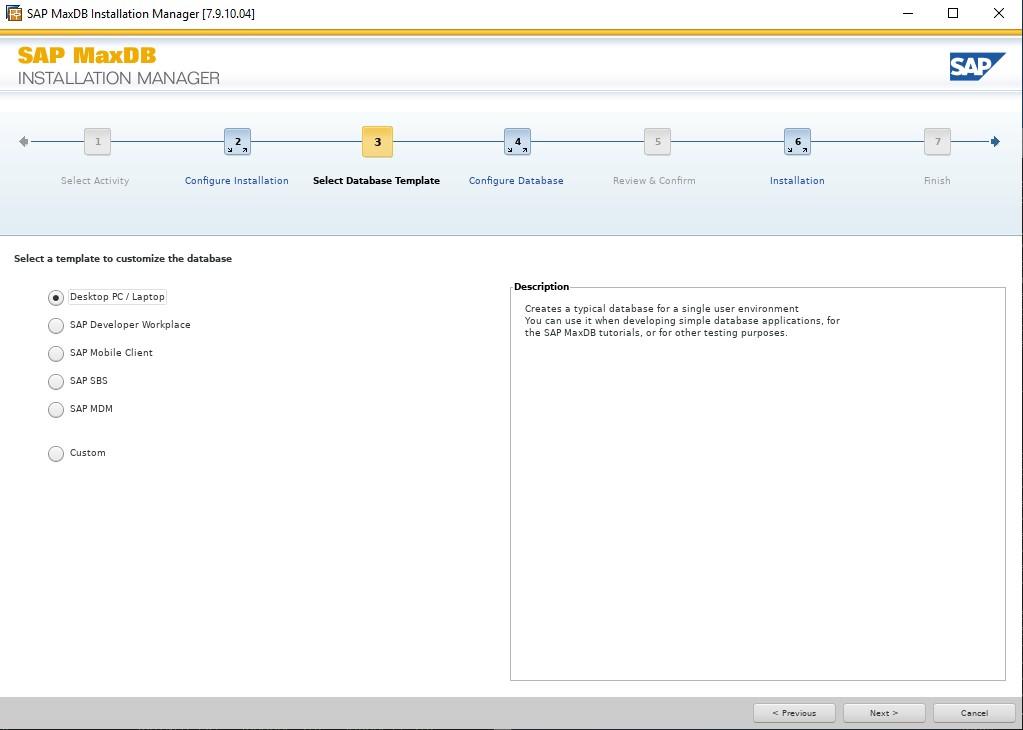
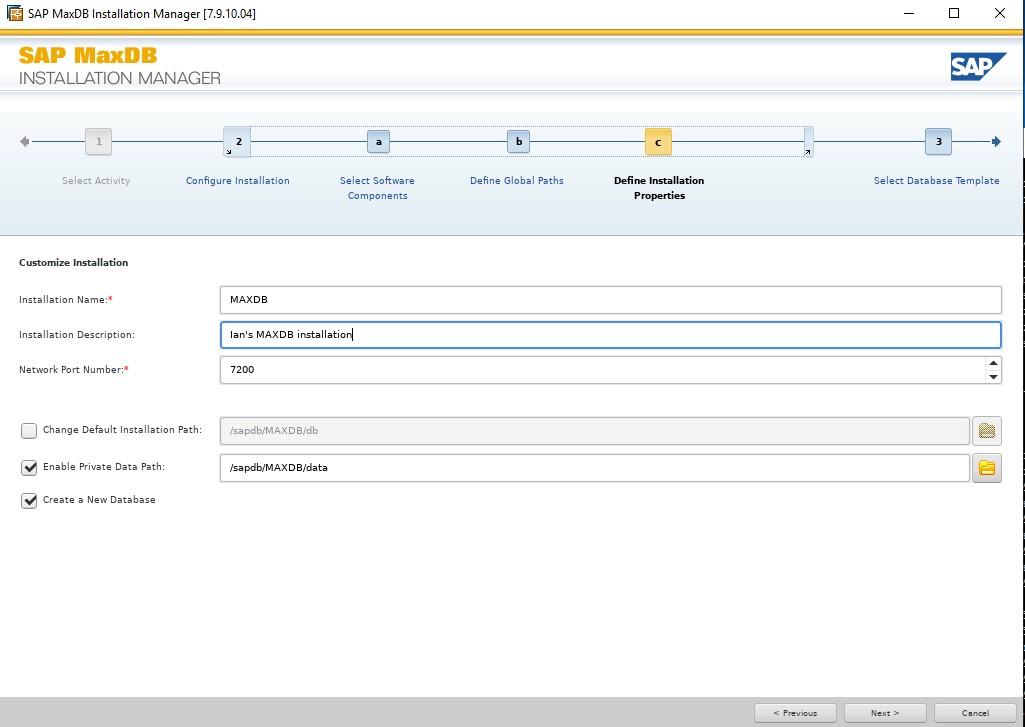
These templates simply pre-define parameters for the MaxDB that will be created as part of the installation. I used Desktop PC/Laptop simply because it’s aimed at small single user installations, You can change most of the parameters after installation completes. See this note for more details.
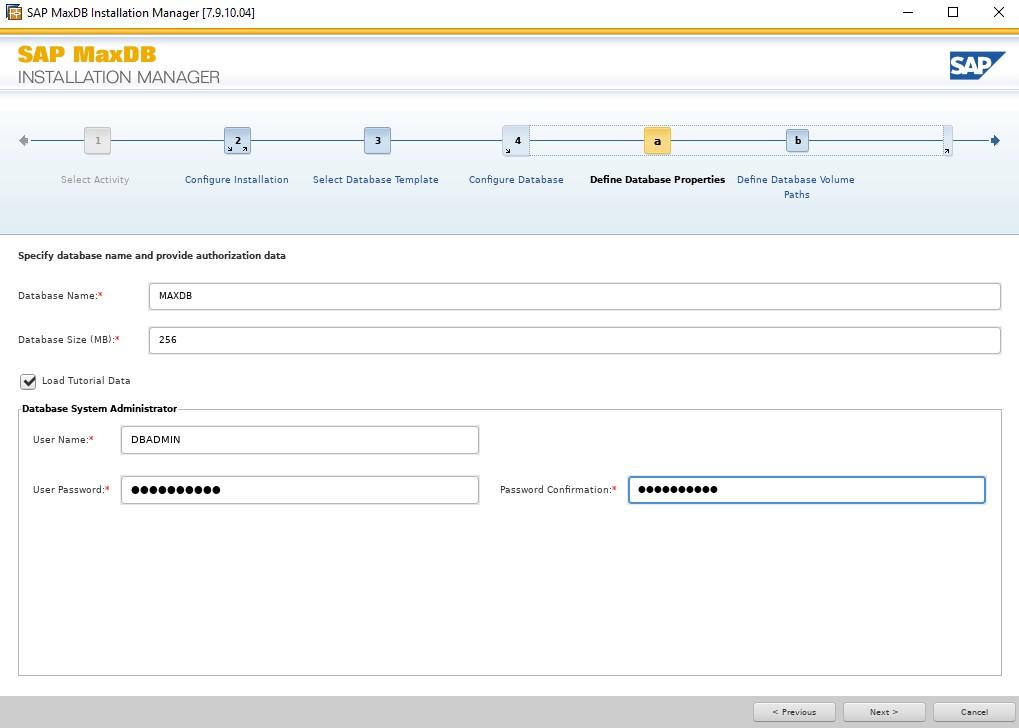
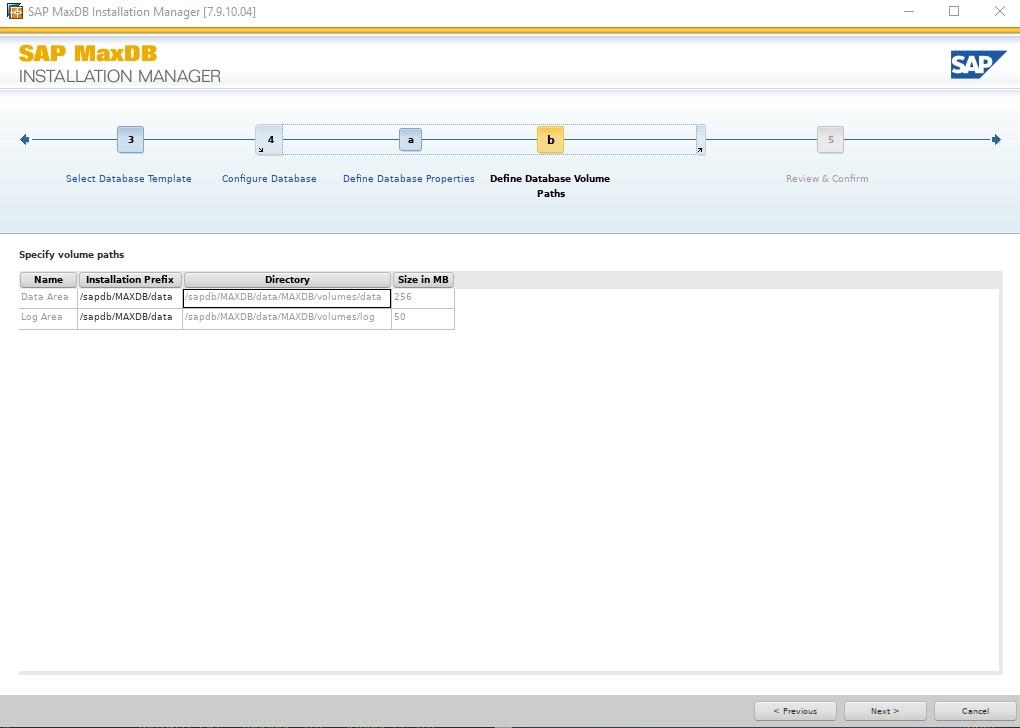
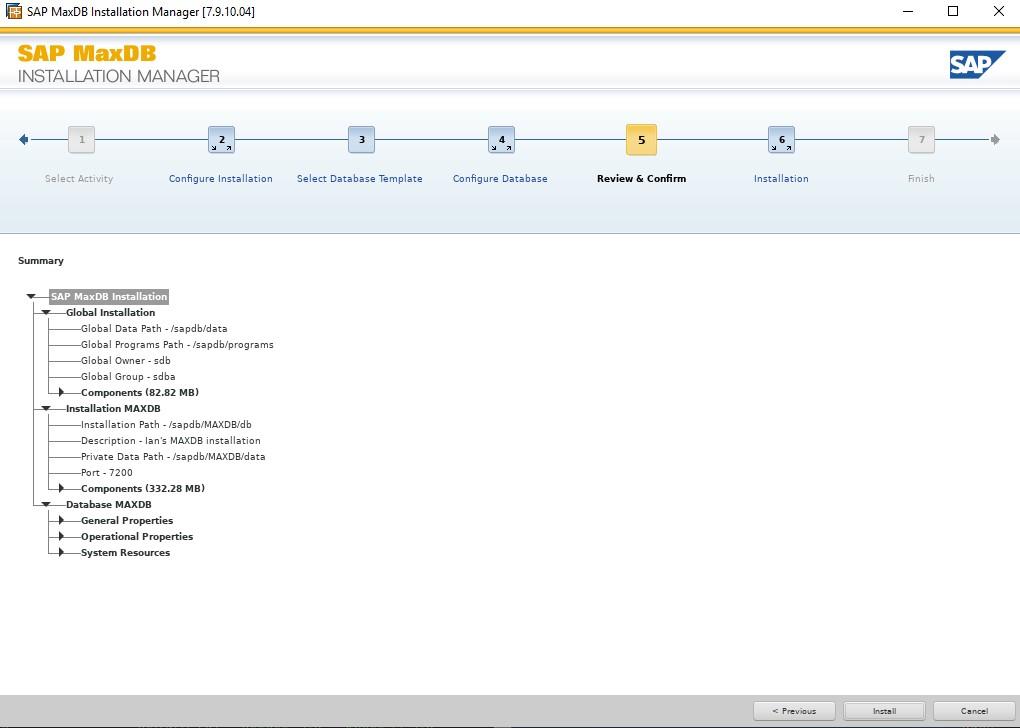
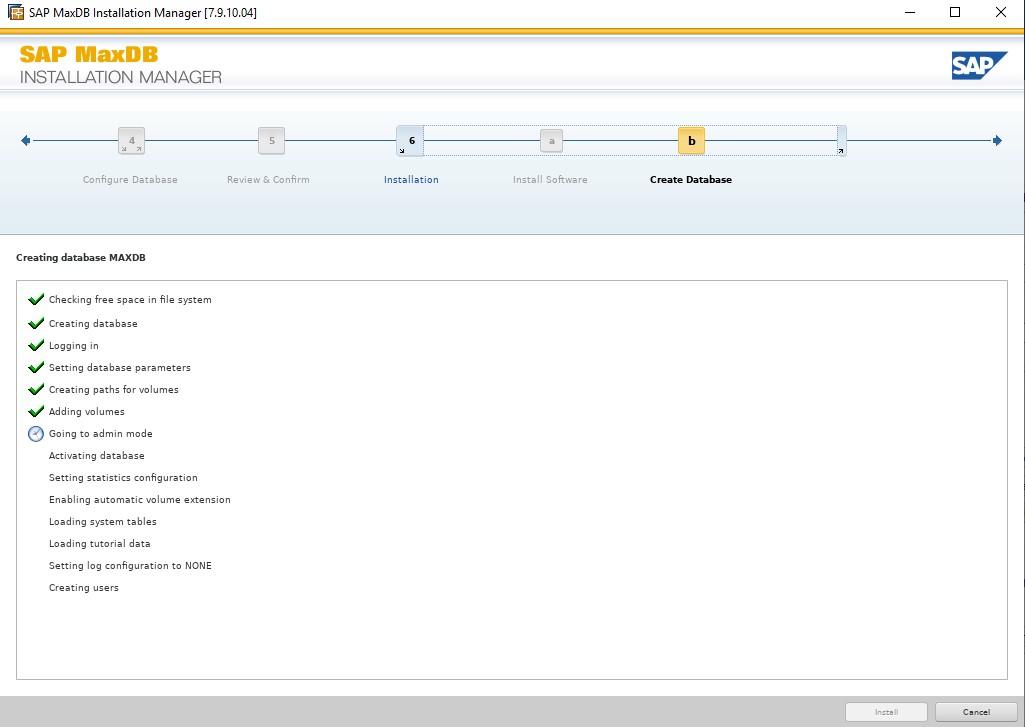
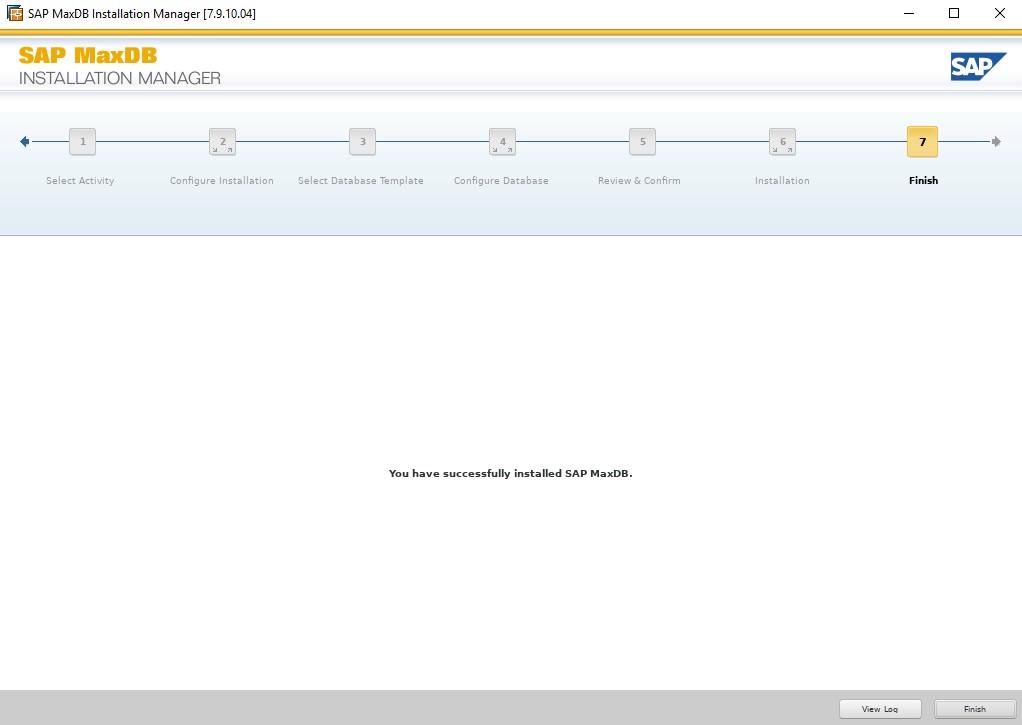
By default the global owner user created while setting up MaxDB gets /bin/false added to its entry in /etc/passwd This addition is to restrict the account used for the MaxDB installation for security reasons e.g. you cannot login with this account. In our case we will use this user and we can change the entry in /etc/passwd to /etc/bash so that we can login and use the user that’s created for us in our example.
4. Setting up a database
Once we have the actual MaxDB software installed, we need to create a database and then start that database. In this example I will call my database SPS and the default admin user will be dbm with the password dbm.
sudo su – sdb
dbmcli -s -R /sapdb/MAXDB/db db_create SPS dbm,dbm
dbmcli -d SPS -u dbm,dbm
user_put dbm PASSWORD=dbadmin
This should drop you to a prompt like this “dbmcli on SPS>”, this means that you are connected to the SPS db as sdb and we will now configure some parameters required to run the database.
param_startsession
param_init OLTP
param_put CAT_CACHE_SUPPLY 5000
param_put CACHE_SIZE 3000
param_put MAXDATAVOLUMES 5
param_put RUNDIRECTORYPATH /sapdb/MAXDB/run
param_checkall
param_commitsession
param_addvolume 1 DATA /sapdb/MAXDB/data/DISKD0001 F 2560
param_addvolume 1 LOG /sapdb/MAXDB/log/DISKL001 F 2048
quit
Now it’s time to start the DB:
dbmcli -d SPS -u dbm,dbadmin db_start
All the above param and dbmcli commands should output OK when you execute them. If they do not then generally they will give you a vague idea of what’s wrong.
dbmcli -d SPS -u dbm,dbadmin
util_connect dbm,dbadmin
db_activate dba,dba
dbmcli -d SPS -u dbm,dbadmin load_systab -u dba,dba -ud domain
dbmcli -d SPS -u dbm,dbadmin
sql_connect dba,dba
sql_execute CREATE USER test PASSWORD test DBA NOT EXCLUSIVE
medium_put data datasave FILE DATA 0 8 YES
medium_put auto autosave FILE AUTO
util_connect dbm,dbadmin
backup_save data
autosave_on
Load_tutorial
auto_extend on
quit
Ok, now we need to create a DEFAULT key to allow SPS-L to connect to the resource, this is done as follows:
xuser -U sdb -d SPS -u dbm,dbadmin, make sure this is executed on all production nodes or make sure that you copy /home/sdb/.XUSER.62 to all production nodes.
Once we have these items complete we can start the global DB listener using:
/sapdb/programs/bin/sdbgloballistener start
Once the global DB listener is running you should be able to connect to the DB using something like MaxDB Studio or SQL.
